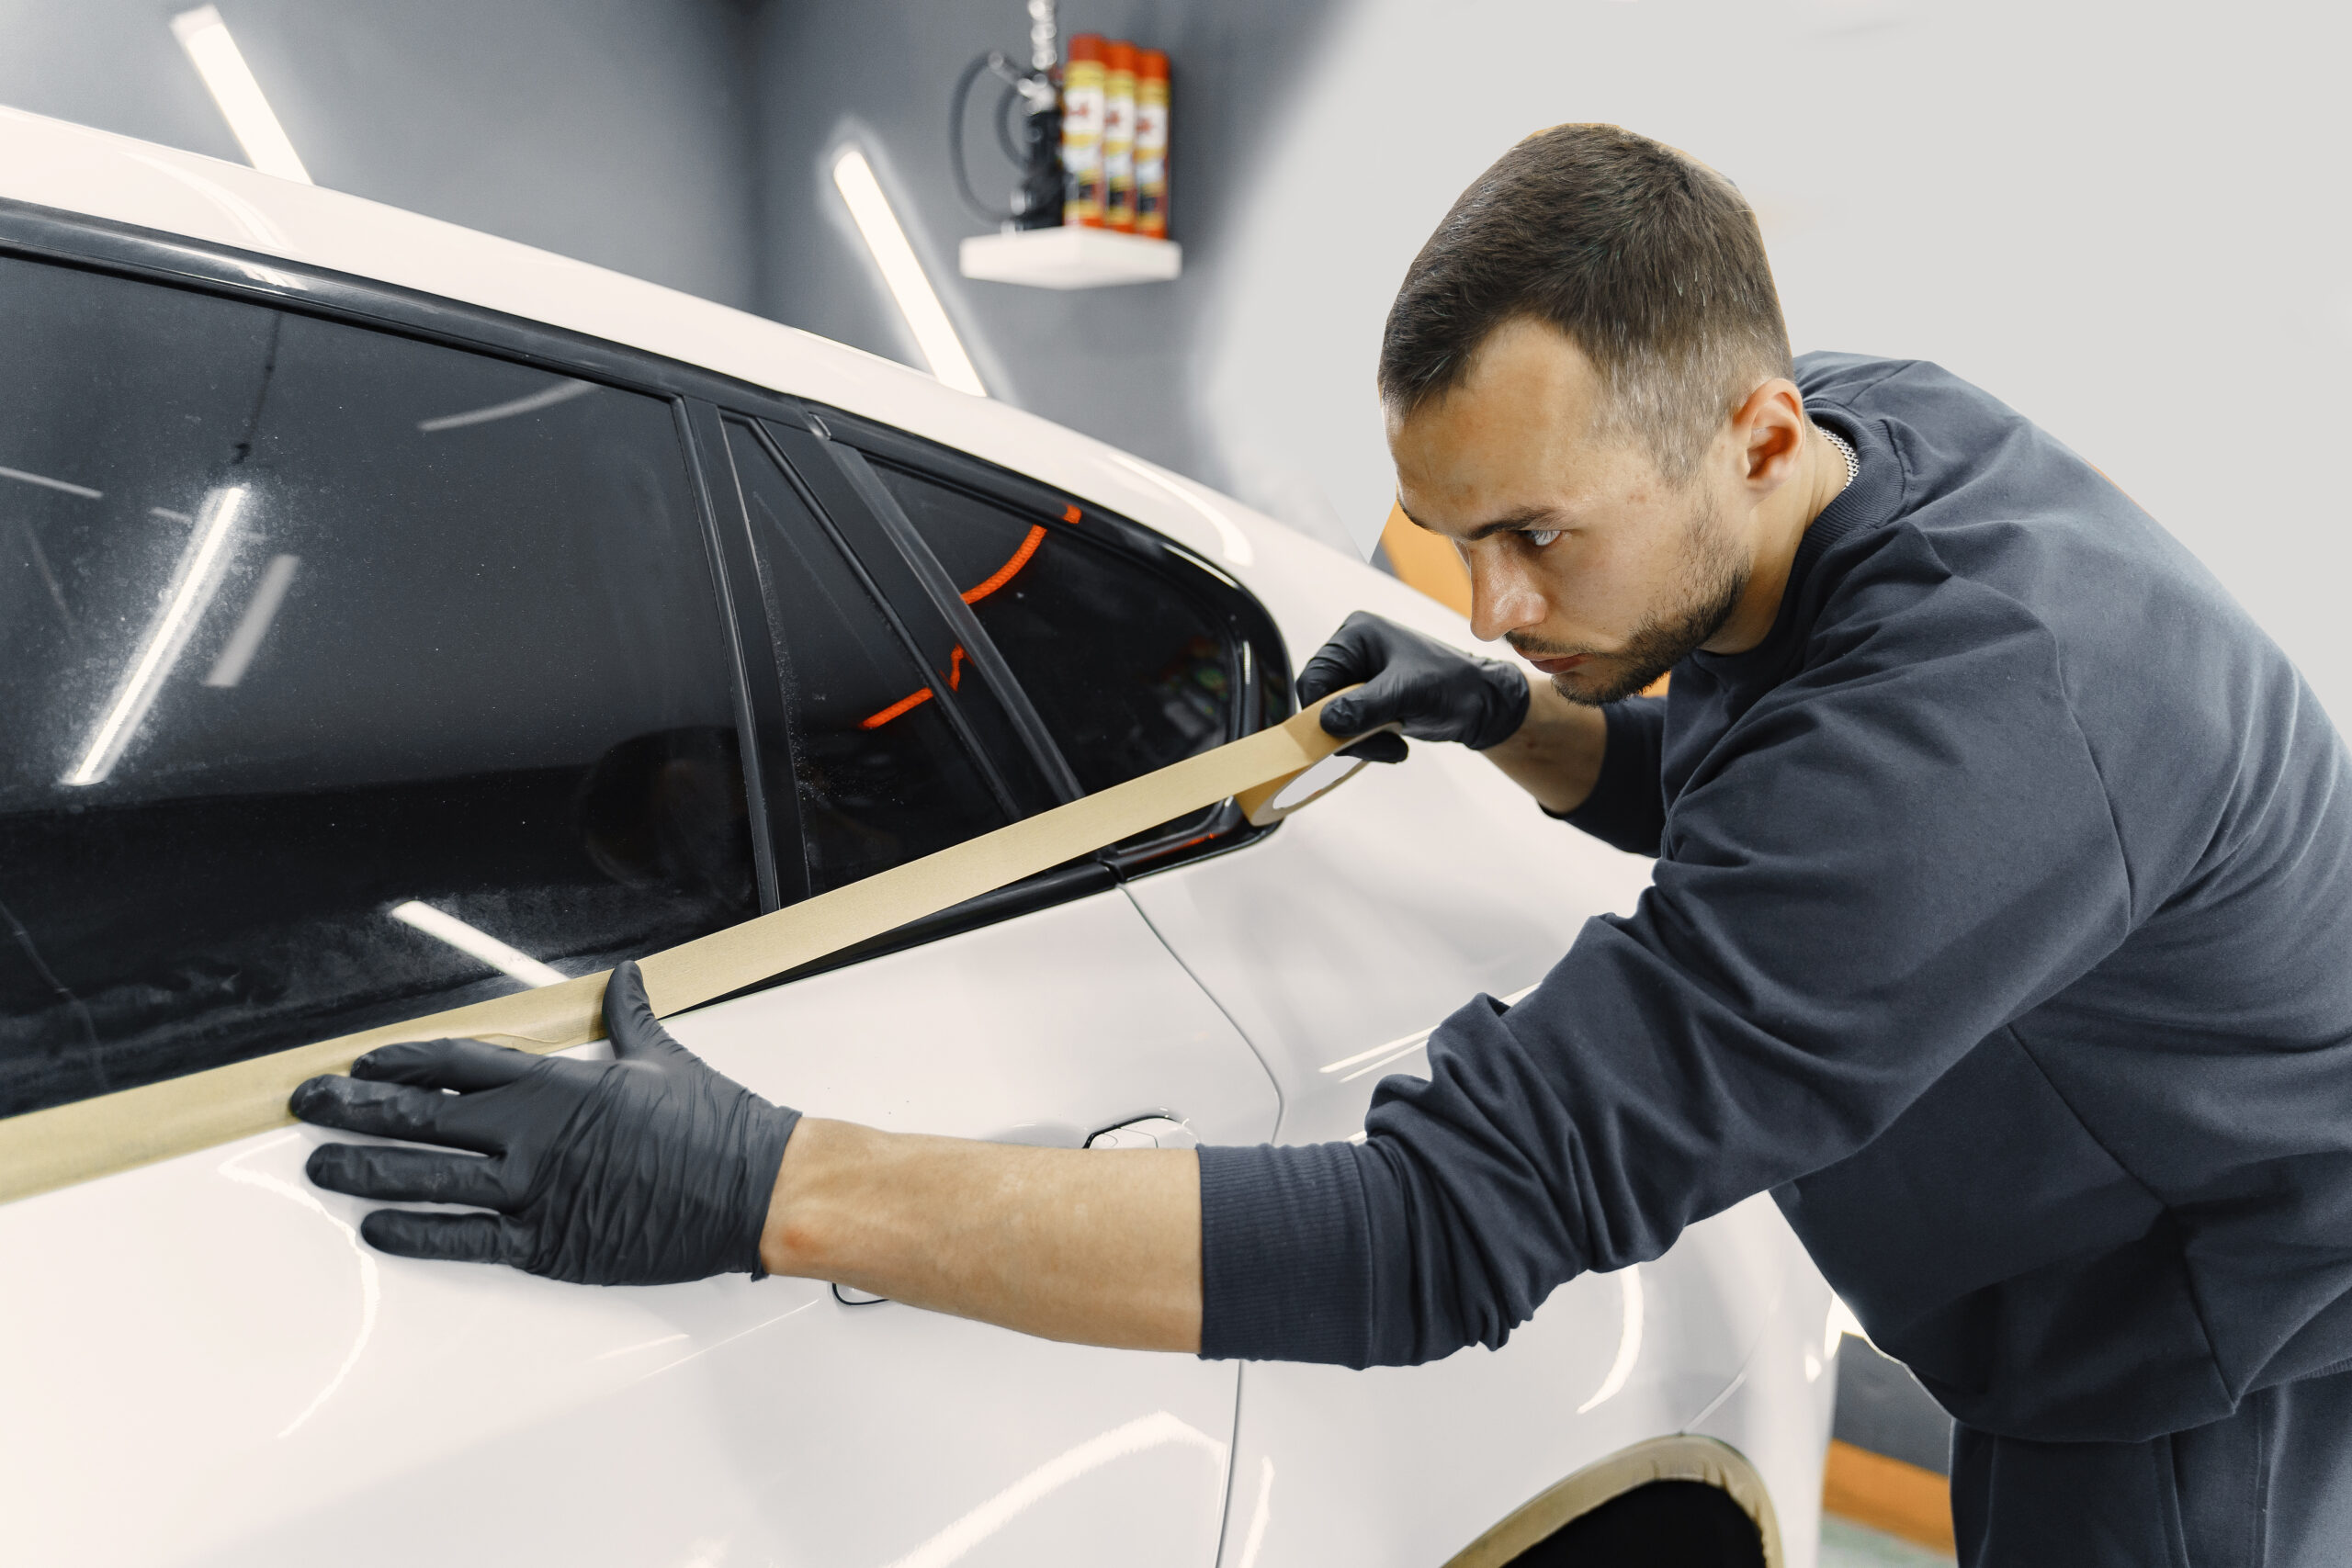
Window tints are a popular addition to vehicles, offering privacy, style, and protection from the sun’s glare. However, there comes a time when these tints need to be replaced or removed, either due to wear and tear or a change in aesthetic preference. The process of removing window tints might seem intimidating, especially with the myriad of advice available online. This comprehensive guide is designed to demystify the process, offering expert-backed methods to ensure a smooth and effective removal.
Is It Truly Challenging to Remove Window Tint From Your Car?
At first glance, the task of removing window tint might appear daunting. However, the actual difficulty level largely depends on several factors. These include the quality of the tint material, the expertise with which it was installed, and the duration it has been on the vehicle. If you’re fortunate enough to have a tint that peels off seamlessly in one piece, you’re in for an easy task. On the other hand, if the tint begins to fragment or strip, the process can quickly become more complex and time-consuming.
Best Method to Remove Window Tint From Cars
While various methods exist for removing window tint, some are more effective and efficient than others.
Here’s a step-by-step guide to the most professional approach:
1. Partial Window Roll Down:
Begin by rolling down the window slightly. This provides easy access to the tint’s edge, simplifying the initiation of the peeling process.
2. Employ a Steamer:
Using a handheld steamer, focus on loosening the adhesive glue, especially around the window’s edges, which will be your starting point for peeling.
3. Initiate Peeling with a Razor:
Once the window is adequately steamed, employ a high-quality razor blade scraper along the window tint’s top edge. The aim is to get behind the tint and initiate its removal.
4. Hand-Peeling:
After starting with the razor, continue peeling the tint using your hand. The goal is to maintain the tint’s integrity, preventing it from fragmenting.
5. Glue Residue Removal:
Post-tint removal, there might be some glue residue left on the window. Utilize products like Goo Gone or 3M Adhesive Cleaner to ensure complete removal, leaving your window spotless.
Seeking the Quickest Method for Window Tint Removal?
If time is of the essence, the steaming method stands out as the fastest.
By steaming the window for a few minutes, the adhesive glue melts, allowing for an effortless and quick tint removal. This method also minimizes the residual glue left on the window, reducing cleanup time.
Why Consider Removing Your Car’s Window Tint?
Window tints serve multiple purposes, from enhancing privacy to reducing sun glare. However, there are several reasons why one might consider removing them:
- Aesthetic Preferences: Over time, your style preferences might evolve, leading you to desire a change from tinted to clear windows or vice versa.
- Bubbling Issues: Bubbles in the tint are a clear sign of adhesive failure. Not only are they unsightly, but they also obstruct vision, making driving potentially unsafe.
- Discoloration Concerns: Aging tints can turn a purplish hue due to the degradation of non-metallic dyes. This not only affects the car’s appearance but also reduces the tint’s UV protection capabilities.
Conclusion
Removing window tints from your car doesn’t have to be a daunting task. With the right tools, techniques, and a bit of patience, you can achieve professional-looking results without the hefty price tag. Whether you’re doing it for aesthetic reasons, due to wear and tear, or legal requirements, understanding the process can make the task much more manageable. This guide aims to provide you with a comprehensive overview, ensuring that you’re well-equipped to tackle the job. Remember, the key is to take your time, use the right tools, and follow the steps diligently for the best results.
Frequently Asked Questions
1. Does heat aid in the window tint removal process?
Absolutely! Heat is a natural adversary of adhesive glues. Tools like heat guns or hair dryers can be employed to soften the adhesive, facilitating easier tint removal.
2. Is there a risk of damaging the defroster during tint removal?
Yes, caution is paramount, especially when using tools like scrapers. The defroster lines on the window are delicate and can be easily damaged if not handled with care.
4. What if I prefer professional assistance for tint removal?
Opting for professional services is a valid choice. Depending on factors like the number of windows and the service provider’s location, costs can range between $100 and $250. However, with the right guidance, like this guide, DIY tint removal can be both effective and satisfying.
Amos Beaumont, who grew up in Asheville, North Carolina, has a real love for cars. Even though he didn’t go to college, his fascination with vehicles made him an authority on tinted windows. He runs a popular blog where this hip, self-educated hobbyist discusses the skill and advantages of tinting car windows.

