
Tinted windows offer a myriad of advantages, from ensuring privacy to reducing heat. But there might come a time when you decide to remove the tint due to reasons like fading, damage, or a simple change of heart.
Preparing for Tint Removal
Before you start the removal process, it’s crucial to be well-prepared. Here’s how:
- Gather the tools: This includes a heat gun or hairdryer, a plastic scraper or razor blade, glass cleaner, a lint-free cloth or paper towels, and adhesive remover or a soapy water solution.
- Protect the interior: Shield the inside of your car using plastic sheets or old newspapers. This ensures the interiors remain unaffected during the removal process.
Softening the Tint
Softening the tint is a pivotal step. However, remember that the back window often has defroster lines. Exercise caution to avoid damaging them.
- Park your vehicle in a well-ventilated area, preferably under direct sunlight. Alternatively, use a heat gun or hairdryer. Avoid directing heat onto the defroster lines or window sealant.
- Heat the tint starting from one corner of the back window. Move the heat source in a circular motion until the tint feels warm.
- Once adequately heated, use your fingertips or a plastic scraper to lift a corner of the tint film. Ensure you’re gentle to prevent tearing.
Removing the Tint Film
After softening, it’s time to peel off the tint film.
- Hold the lifted corner and gently pull the tint. If it resists, reheat the area and continue.
- Avoid letting the tint fold onto itself. If it does, reheat and unfold before proceeding.
- If adhesive residue remains post tint removal, use a plastic scraper or razor blade to scrape it off gently. For a comprehensive guide on removing window tint glue, refer to our detailed guide.
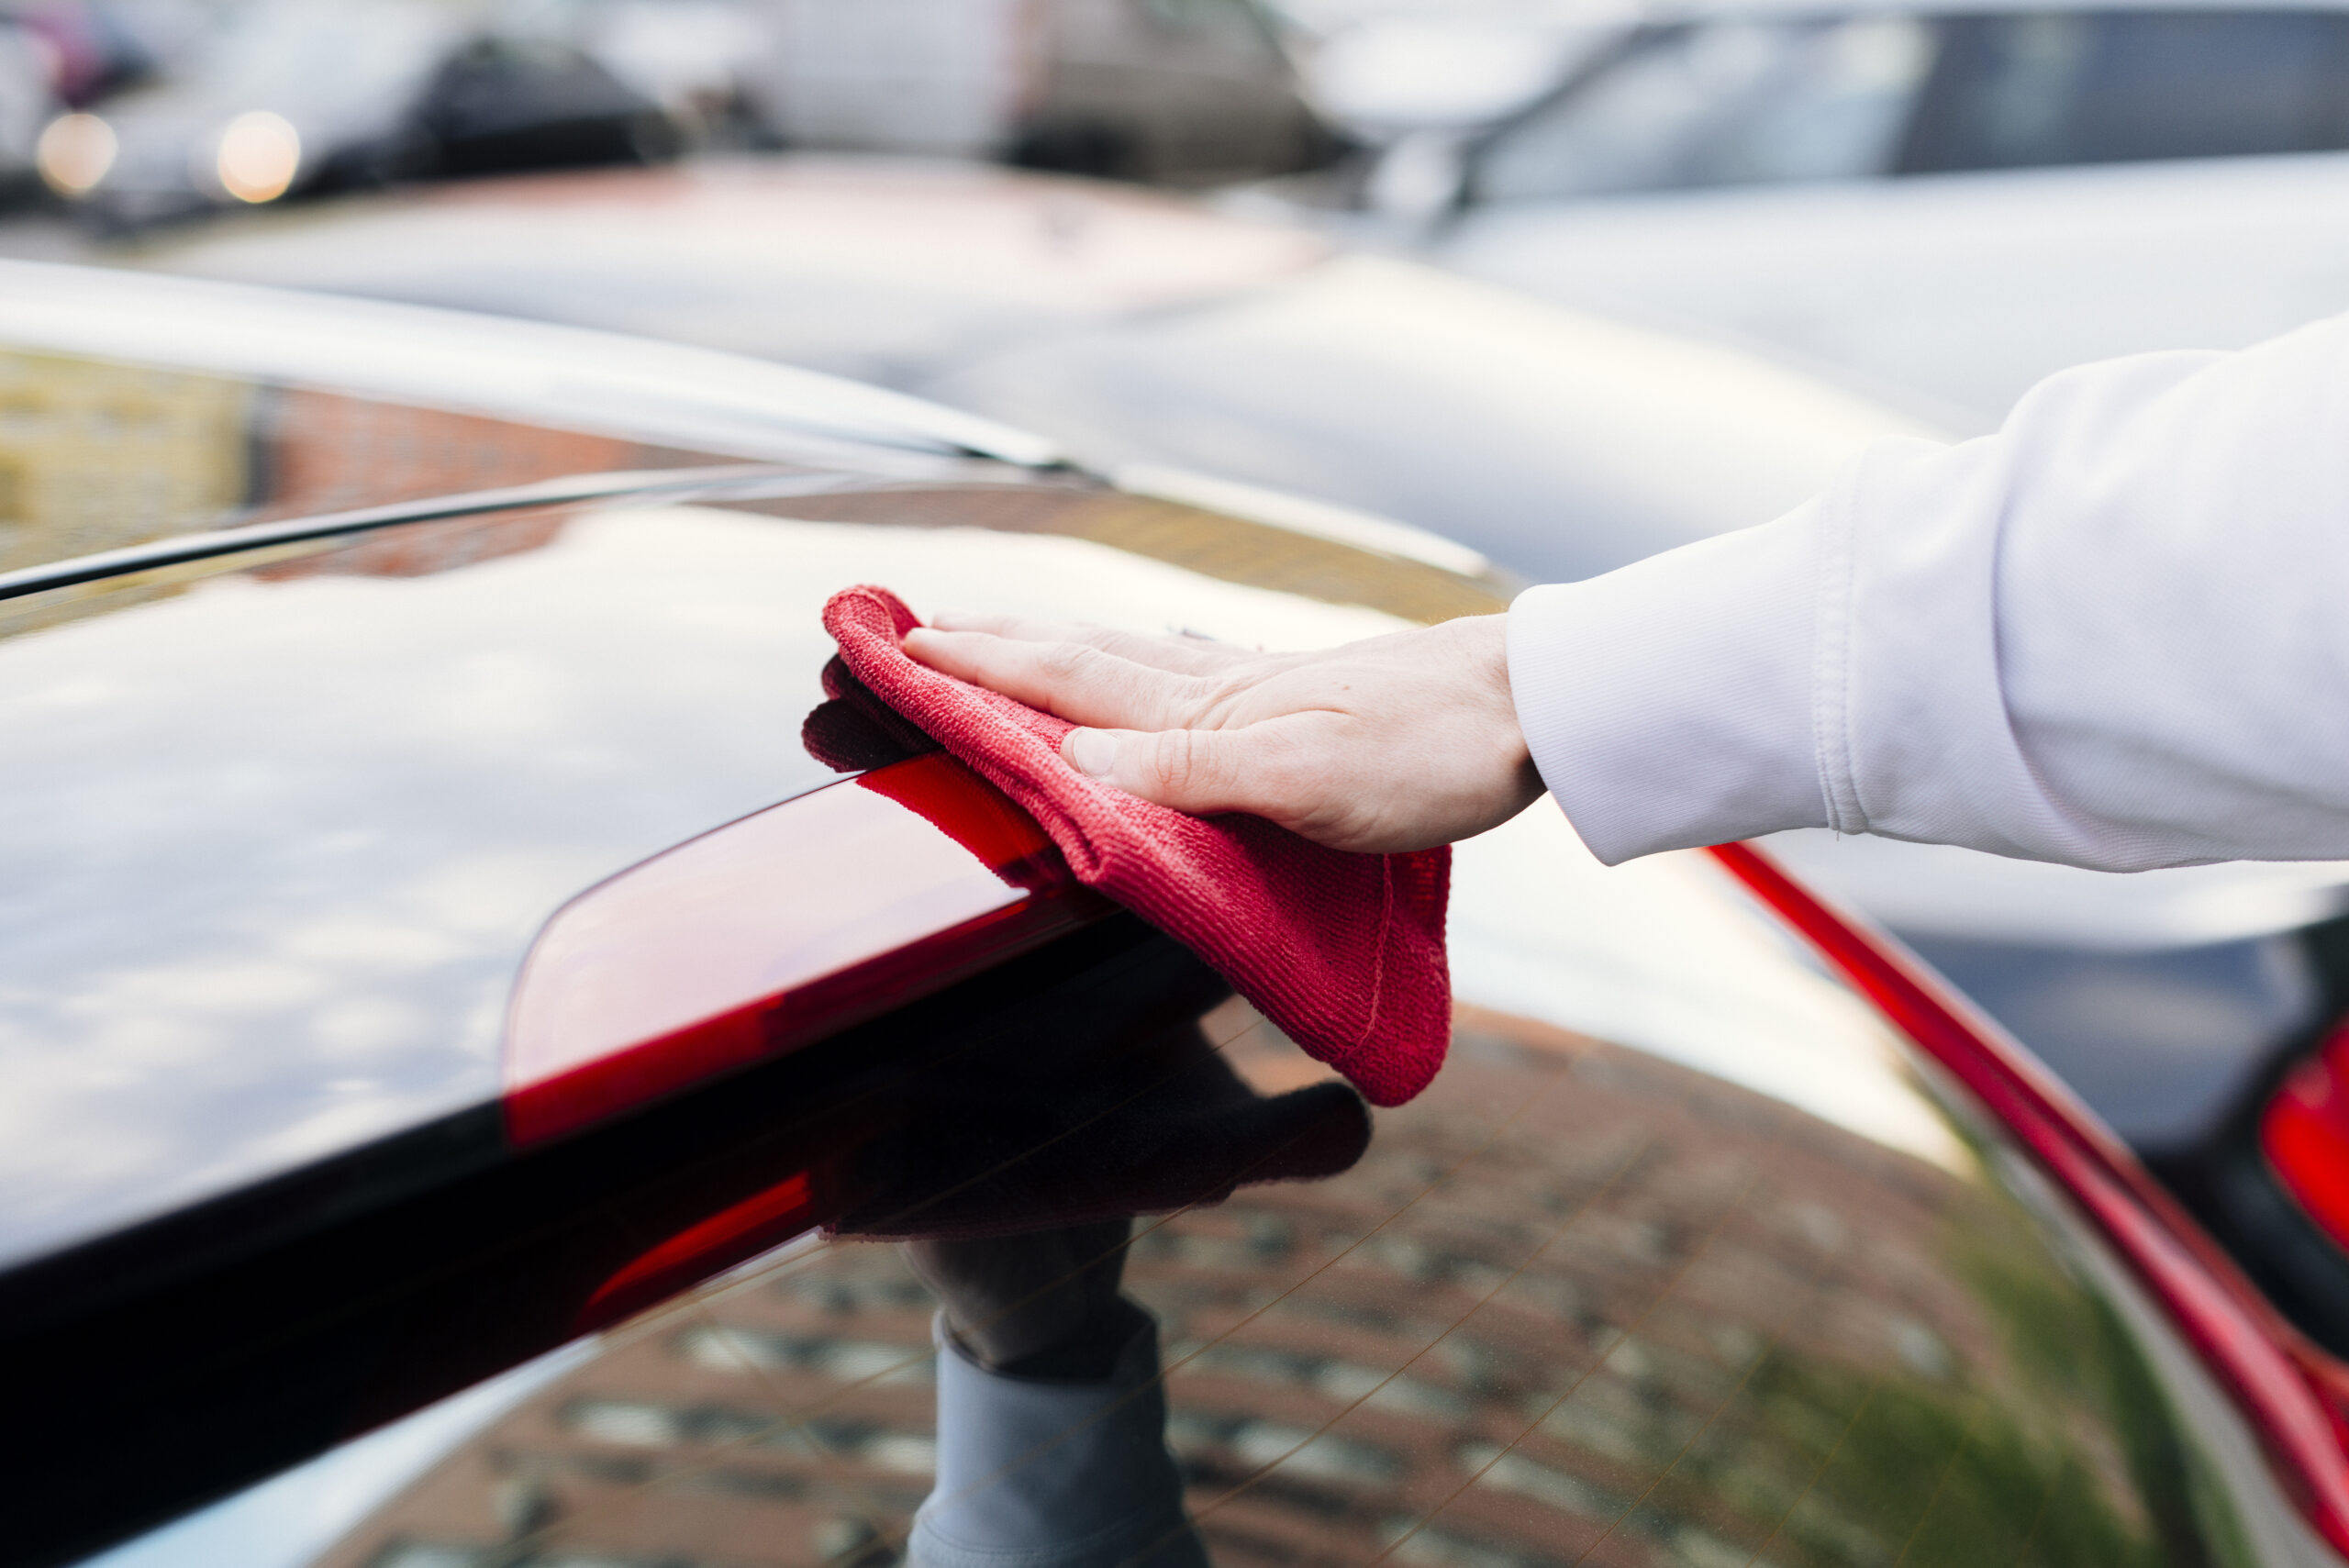
Cleaning the Rear Window
After removing the tint and adhesive residue, it’s essential to clean the back window for a pristine finish. Remember to be gentle, especially around the defroster lines.
- Spray automotive glass cleaner on the window.
- Use a lint-free cloth or paper towels to wipe in a circular motion. Focus on areas with stubborn adhesive residue.
- For persistent adhesive spots, use a bit of adhesive remover. Always follow the manufacturer’s guidelines.
- Finish by wiping the window with a clean cloth for a streak-free look.
Final Touches
With the tint removed and the window cleaned, a few finishing touches will enhance the result:
- Inspect the window for any leftover adhesive or streaks. If found, repeat the cleaning process.
- Consider using a glass polish or window sealant to rejuvenate and protect the back window. Always adhere to the product’s instructions.
Frequently Asked Questions
1. Can I use household items to remove window tint glue?
Yes, household items like vinegar, soapy water, and ammonia can be effective in removing window tint glue. However, always ensure you’re in a well-ventilated area when using ammonia due to its strong odor. Additionally, items like Goo Gone and WD-40, which are commonly found in homes, can also assist in the removal process.
2. Is it safe to use a razor blade on the back window?
While a razor blade can be effective in removing adhesive residue, it’s essential to use it with caution. There’s a risk of scratching the glass or damaging the defroster lines on the back window. It’s recommended to use a plastic scraper as a safer alternative.
3. How long does it typically take to remove tint from the back window?
The duration can vary based on the age of the tint, the quality of the adhesive, and the tools used. On average, with the right tools and following the steps meticulously, it can take anywhere from 30 minutes to a couple of hours to remove the tint and clean the window thoroughly.
Conclusion
Removing tint from the back window might seem daunting, but with the right tools and approach, it’s entirely feasible. Whether you’ve recently installed window tint or are looking to refresh your car’s appearance, this guide offers a comprehensive solution. Remember, patience, the right tools, and following the steps meticulously will ensure a clear and unobstructed view from your back window.
Amos Beaumont, who grew up in Asheville, North Carolina, has a real love for cars. Even though he didn’t go to college, his fascination with vehicles made him an authority on tinted windows. He runs a popular blog where this hip, self-educated hobbyist discusses the skill and advantages of tinting car windows.