
Car window tints, while stylish and functional, can leave behind a pesky sticky residue. This guide will steer you through the process of making those windows crystal clear again!
Understanding the Residue
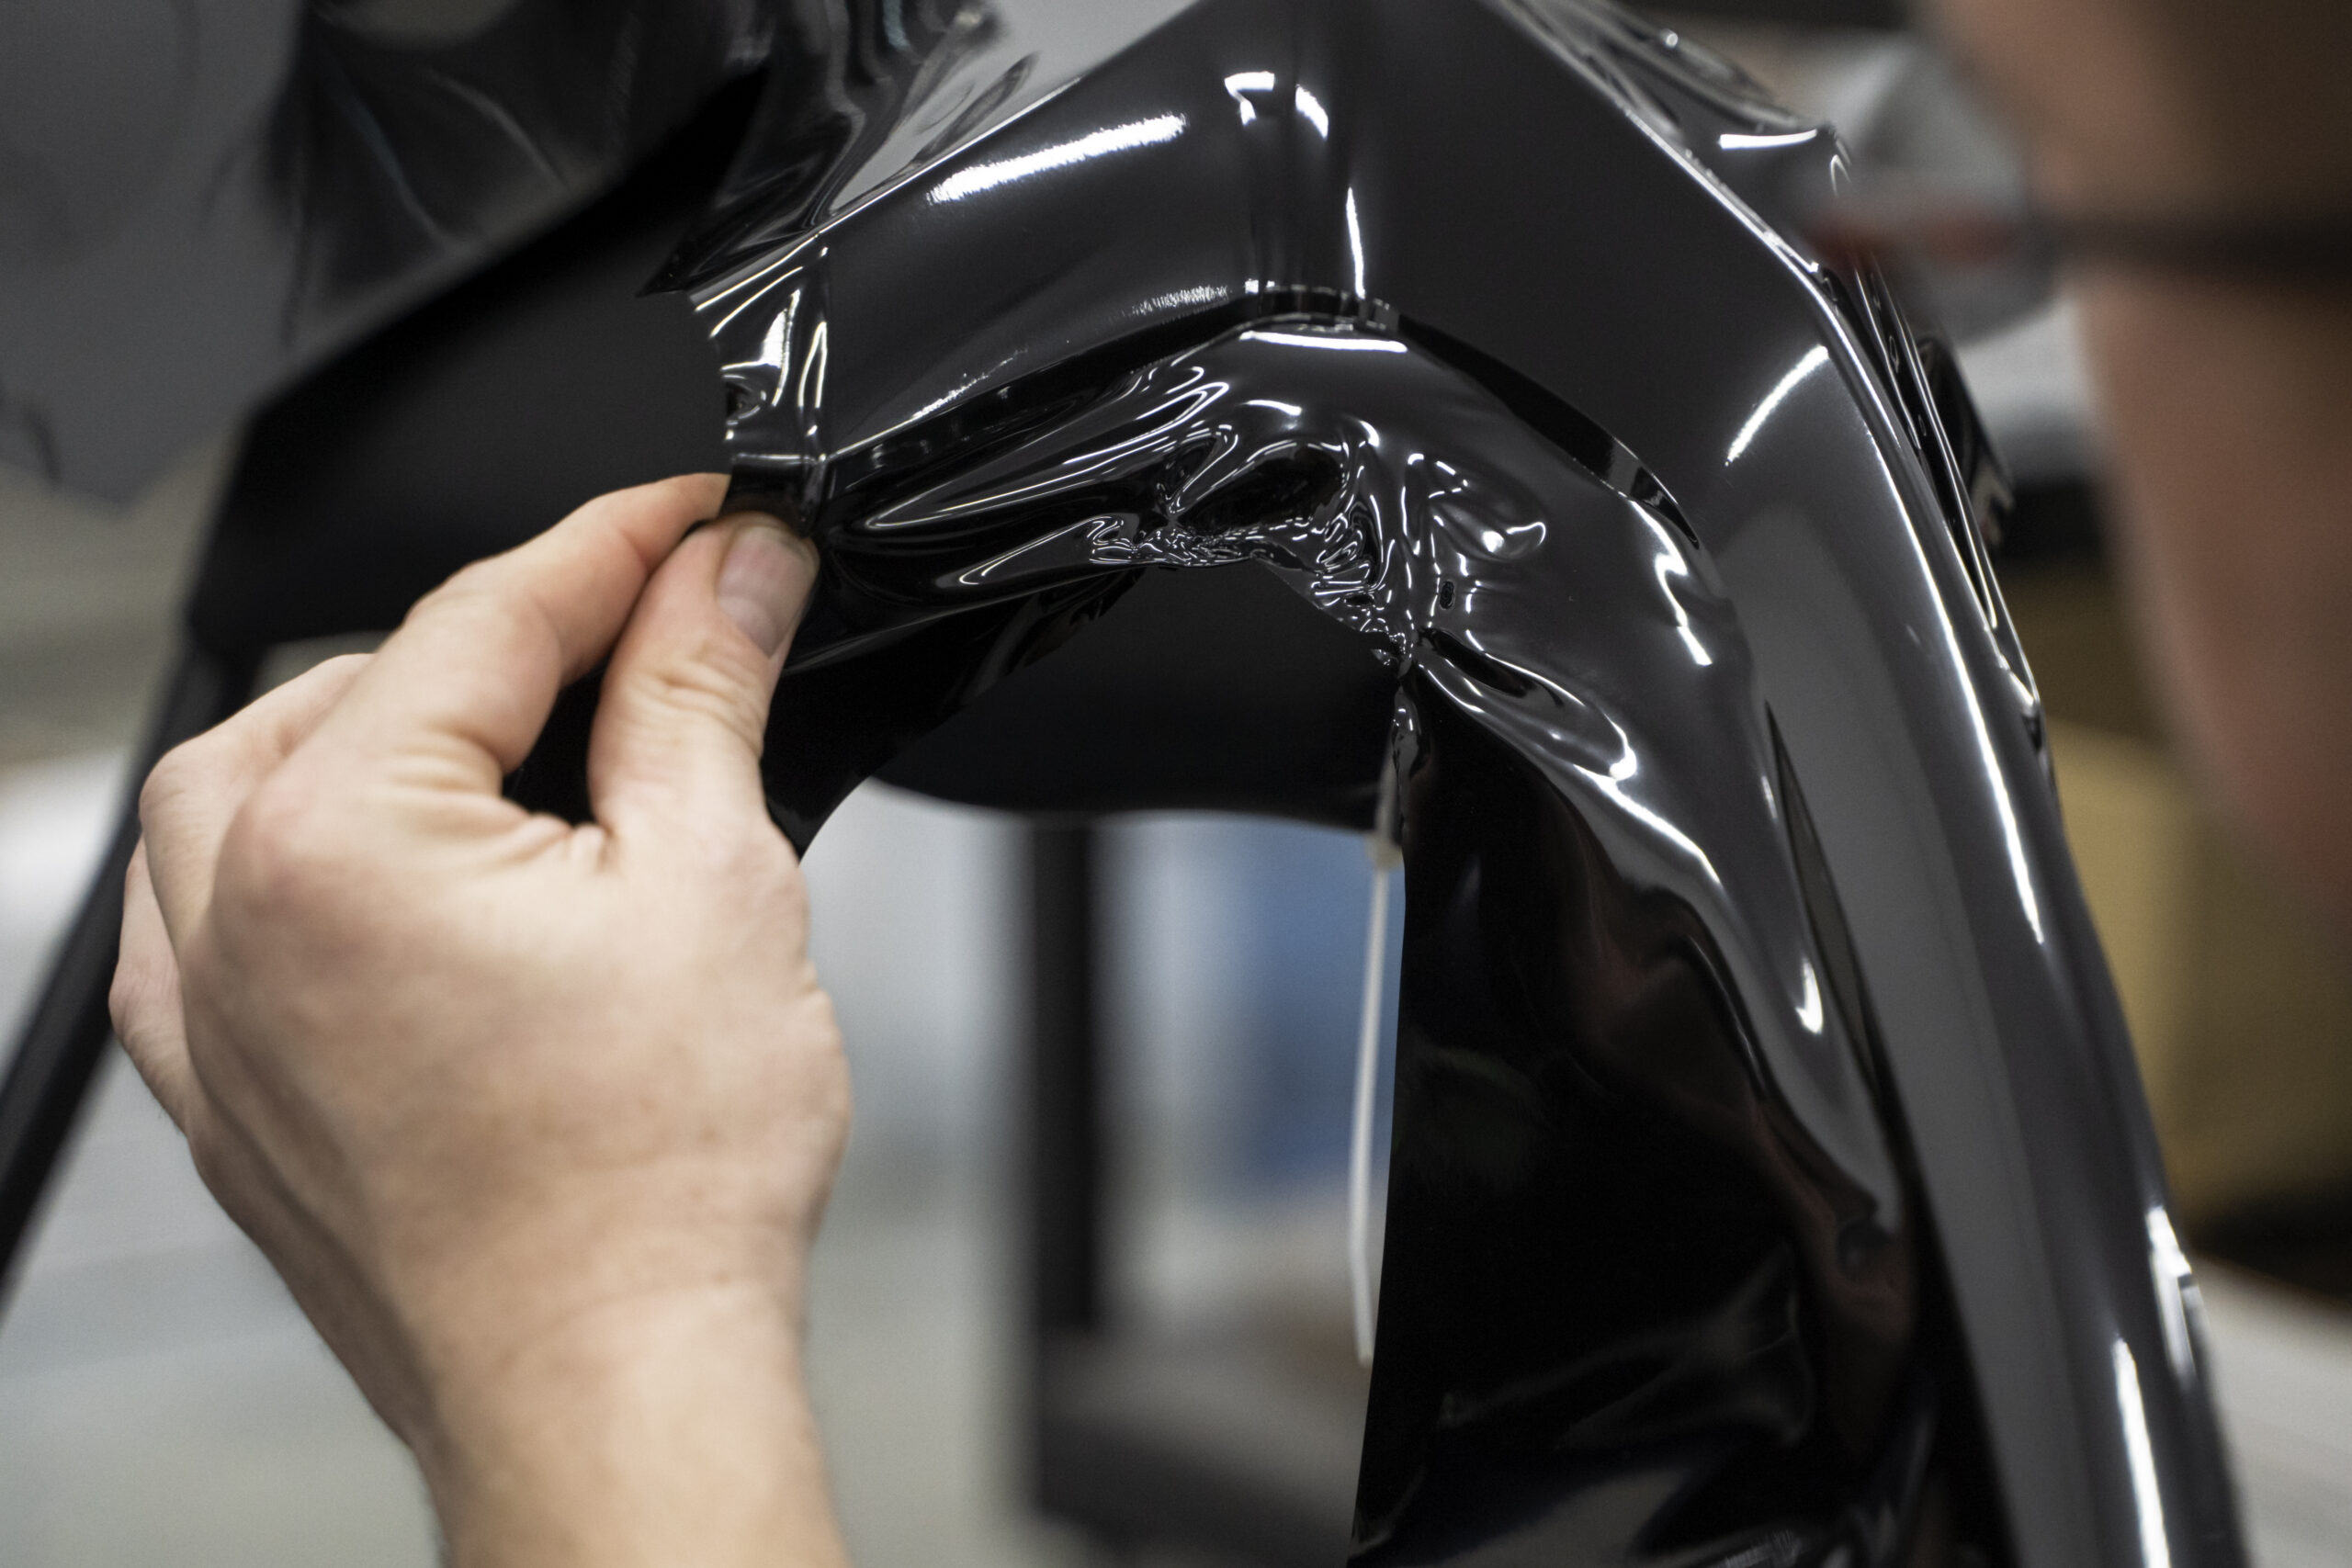
Before tackling the removal, it’s essential to understand what you’re dealing with. The sticky residue left behind after removing window tint is primarily the adhesive used during the tint installation. This adhesive can become firmly bonded to the glass over time, especially with the continuous exposure to sunlight, making it challenging to remove.
Tools and Materials You’ll Need
- Soapy water or window cleaner
- Spray bottle
- Razor blade or scraper
- Cloth or paper towels
- Hair dryer or heat gun
- Plastic card
- Rubbing alcohol
- Baby oil or vinegar
Ways to Remove sticky residue from car window tint
1. Basic Residue Removal Technique
This method is suitable for most residue types and should always be your first approach before trying more aggressive techniques.
Step-by-step Process:
- Clean the Window: Start by cleaning the entire window with soapy water. This will help you identify the specific areas with the sticky residue. It also ensures that you’re not scraping off dirt or debris that could scratch the window.
- Apply the Solution: Once the window is clean, spray the soapy solution generously over the affected areas. The soapy water acts as a lubricant and helps to soften the adhesive.
- Soak Time: Allow the solution to soak for a few minutes. This will help to loosen the adhesive and make it easier to scrape off.
- Scrape Gently: Using a plastic scraper or an old credit card, gently scrape off the residue. Always keep the blade at a 45-degree angle to prevent scratching the window.
- Wipe and Repeat: After scraping, use a clean cloth to wipe the area. If any residue remains, repeat the process until it’s all gone.
2. Heat Technique
This method can be particularly effective for stubborn spots or residue that’s been on the window for a long time.
Step-by-step Process:
- Heat Source: Use a hair dryer or a heat gun. A hair dryer is typically safer for beginners because it’s less intense than a heat gun.
- Apply Heat: Holding the hair dryer or heat gun about 6-8 inches away from the window, apply heat to the residue area. Move it in a back and forth motion to evenly distribute the heat.
- Scrape: Once the adhesive has softened (usually after a few minutes of heating), use your scraper to gently remove it.
- Final Clean: Clean the window with soapy water once more to ensure all the residue is gone and to give it a final polish.
3. Alternative Solutions
These are home remedies that can be particularly effective when the other techniques fail or if you’re trying to avoid using more aggressive cleaning agents.
Step-by-step Process:
- Rubbing Alcohol:
- Application: Dampen a cloth with a small amount of rubbing alcohol.
- Method: Gently rub the affected area in circular motions. The alcohol will help dissolve the adhesive.
- Finish: Wipe the area clean with a fresh cloth.
- Baby Oil or Vinegar:
- Application: Apply either baby oil or vinegar directly onto the sticky residue.
- Soak: Let it sit for a few minutes. This gives it time to break down the adhesive.
- Scrub: Use a soft cloth or sponge to gently scrub the area.
- Finish: Clean the window with soapy water to remove any oily residue or vinegar smell.
Frequently Asked Questions
- Why is there a residue after removing window tint?
It’s primarily the adhesive from the tint installation reacting over time with sunlight. - Can I use household items as adhesive removers?
Yes! Baby oil and vinegar are excellent alternatives. - Should I retint after cleaning?
Yes, but ensure you use quality tints and possibly hire a professional for installation to minimize future residues.
Conclusion
Getting rid of window tint residue might seem daunting, but with the right approach, you can easily get your windows to sparkle again. Whether you’re a DIY enthusiast or seeking expert help, clear windows are just a few steps away!
Amos Beaumont, who grew up in Asheville, North Carolina, has a real love for cars. Even though he didn’t go to college, his fascination with vehicles made him an authority on tinted windows. He runs a popular blog where this hip, self-educated hobbyist discusses the skill and advantages of tinting car windows.