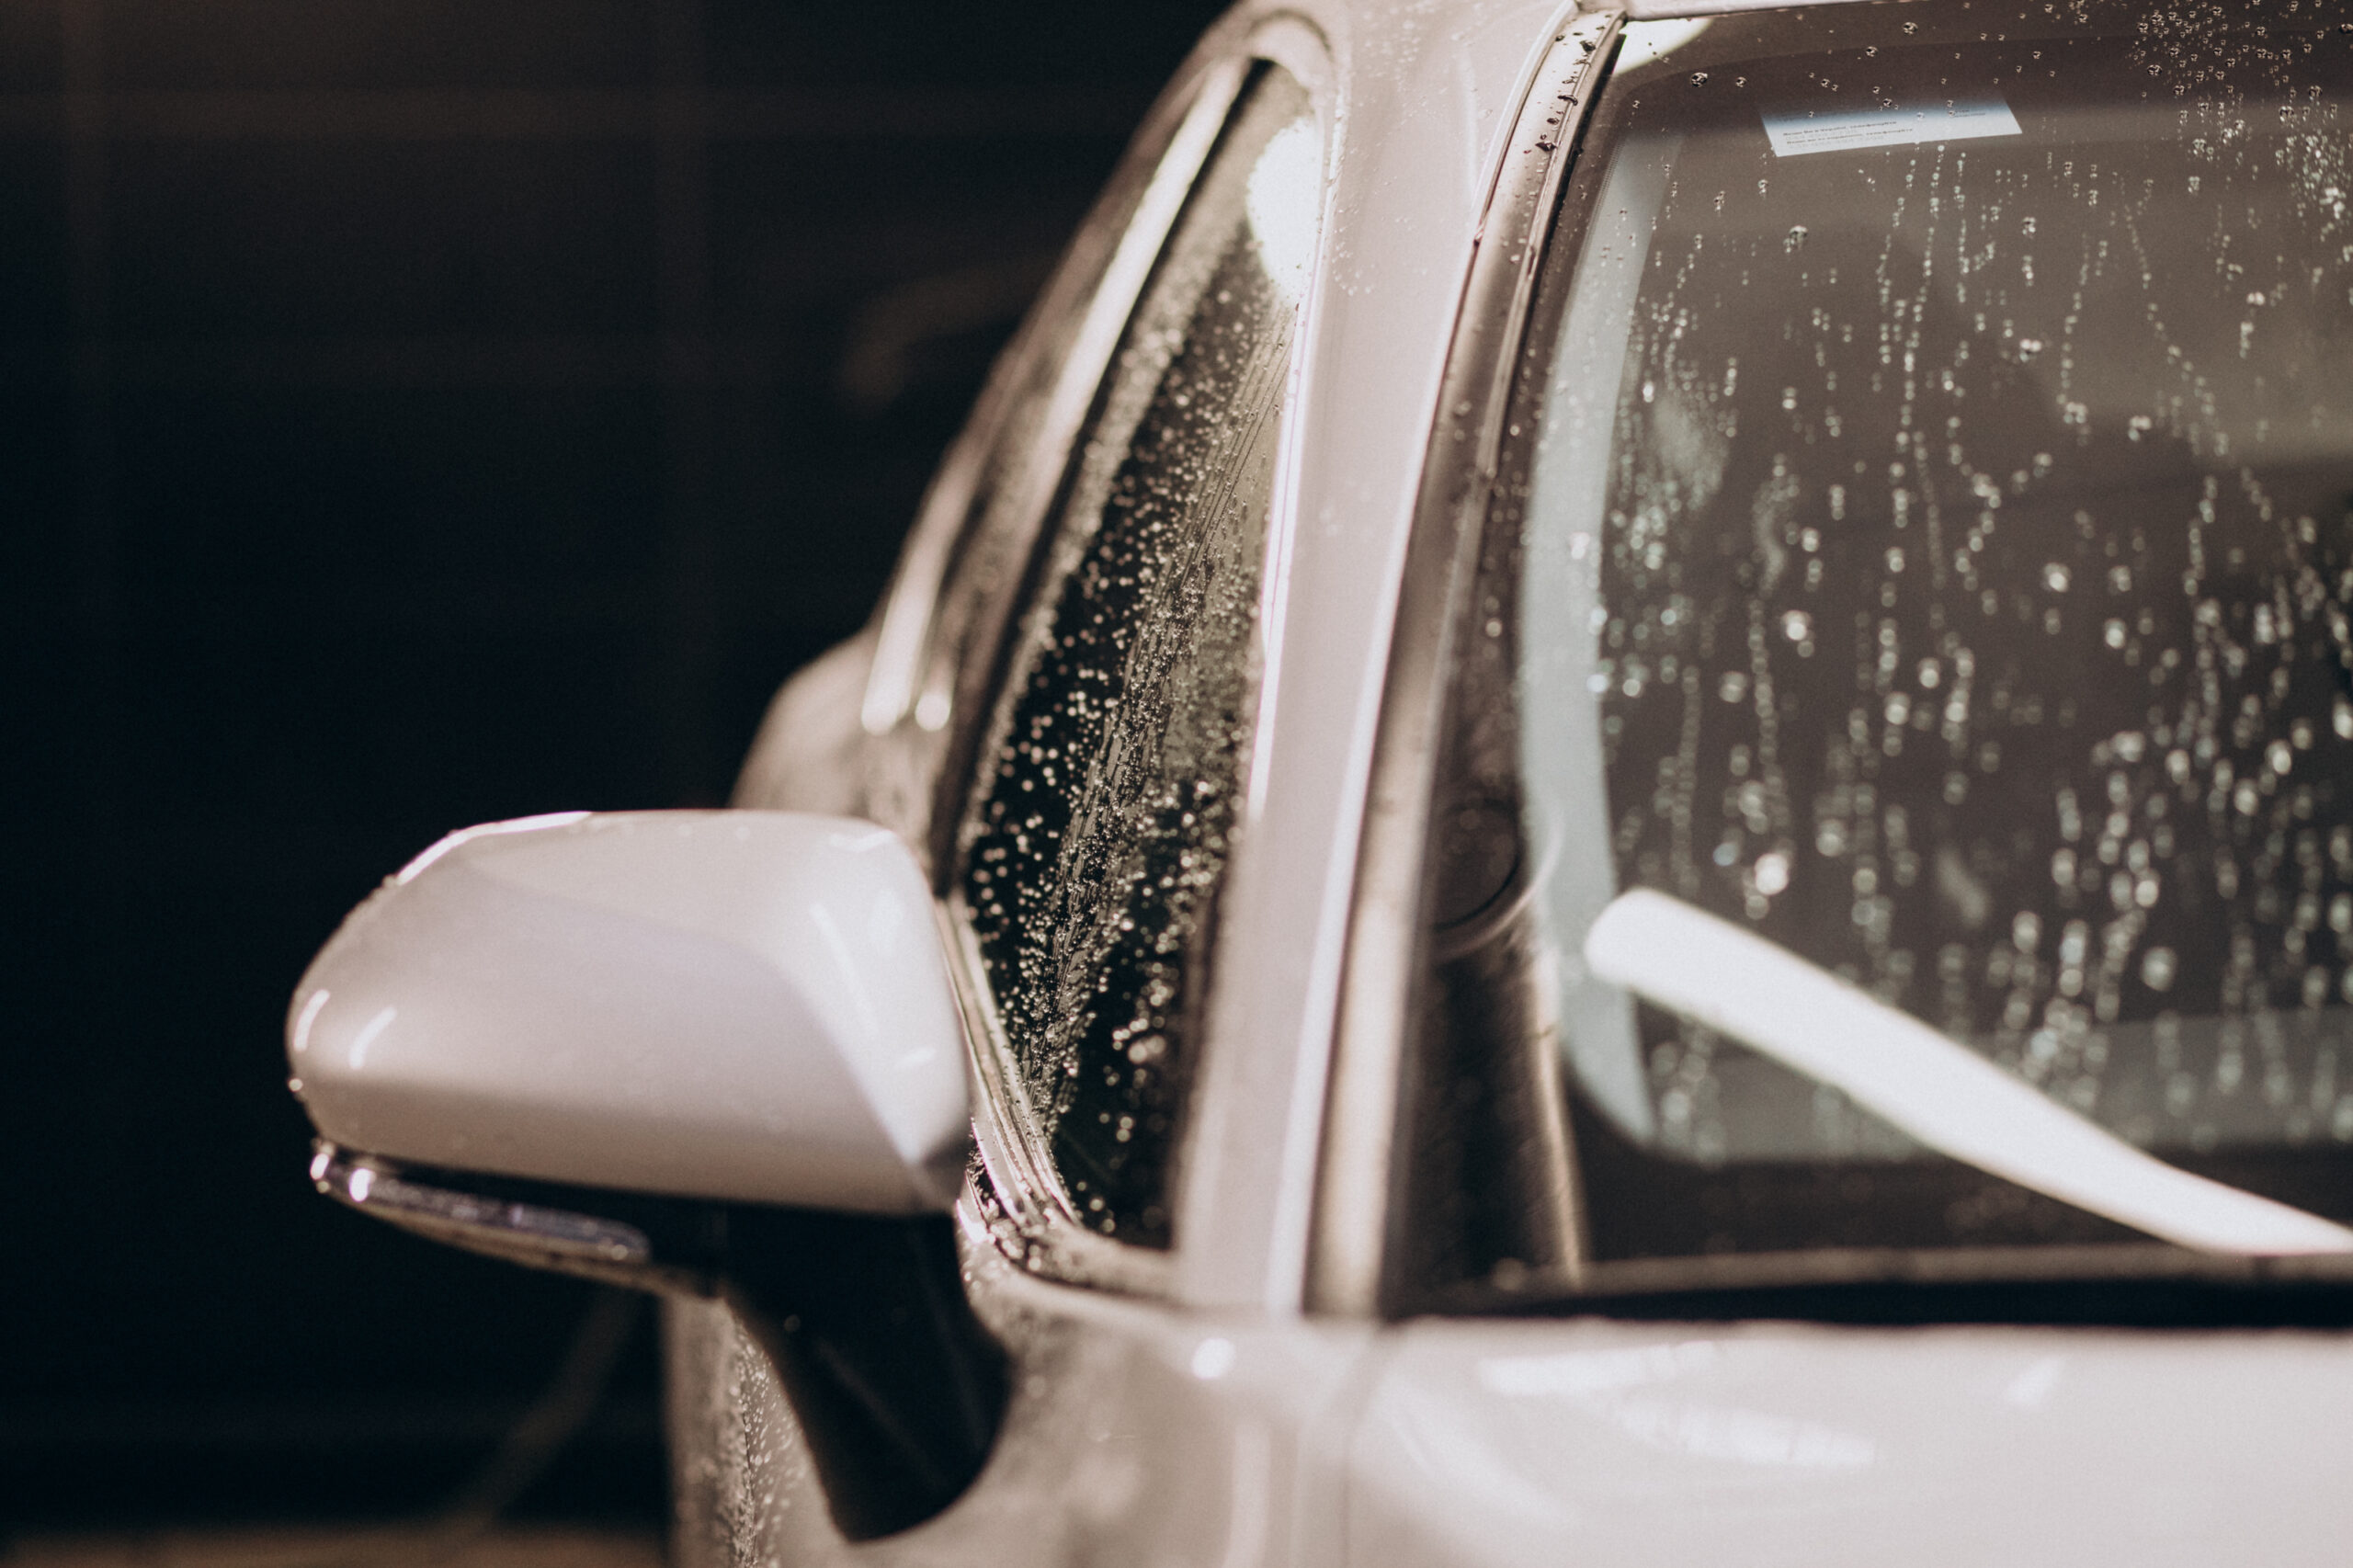
Window tint is an excellent addition to any vehicle, not only enhancing its appearance but also providing essential protection against the sun. But what happens when unsightly bubbles start to form? Not only do they mar the look of your car, but they also pose a safety hazard by obstructing visibility. Fortunately, there’s a solution. In this article, we’ll explore five effective steps to tackle and prevent bubble formation in window tints.
Steps to tackle and prevent bubble formation in window tints
1. Should You Tackle It Yourself?
Professional Tinting: If your windows were professionally tinted and you notice bubbles soon after, it’s best not to attempt repairs yourself. Check any warranties or guarantees that came with the service, as most professional providers will cover defects like bubbling. If there’s no warranty, a reputable service should still stand by its work and rectify any issues.
Old Tints: For older tints, especially those showing signs of wear and tear, consider a complete replacement instead of a temporary fix.
DIY Tints: For those who’ve applied tints themselves and later found bubbles, don’t despair! Continue reading for steps to repair them.
Before diving in, decide if tackling the bubbles is a task you should do yourself. If you’ve recently had your windows professionally tinted and noticed bubbles:
- Review the Warranty: Most professional services come with a warranty. This means they might fix bubbles at no extra cost. So, check your paperwork.
- Consider Revisiting the Pros: If you’re unhappy with the job, return to the tint shop. A reputable business will stand by its work and fix any issues.
However, if your tint is a DIY job or aging, read on for our tips to tackle those bubbles!
2. Turn up the Heat
For effective bubble repair, both the tint film and its adhesive must be flexible. Heat is your ally in this:
- Park your vehicle in direct sunlight on a warm day (at least 75°F).
- Alternatively, use a heat gun or hairdryer to apply direct heat to the tinted windows.
- Work one window at a time to maintain the heat.
- In colder climates, consider using a portable heater in a garage setting.
3. Employ Soapy Water
After heating, the next step is to spray the window with a mixture of water and liquid detergent. This concoction makes the film more pliable and ready for repairs. Prepare this solution in advance to ensure your window remains warm throughout the process.
4. Pin those Bubbles
With a safety pin or a sharp needle, gently pierce the center of each bubble. If done correctly on a sufficiently warm and moist window, the tint should self-seal without any visible marks. Always ensure:
- The film is wet and pliable during this process.
- Pin insertion is gentle and straight, avoiding any tearing risks.
5. Iron Out the Bubbles
Using a firm-edged tool, like a squeegee or even an old credit card, start pressing out the bubbles:
| Step | Instructions |
| 1 | Position the tool at a 45-degree angle to the window surface. |
| 2 | Begin from the outermost edge of the bubble. |
| 3 | Gently slide towards the pinhole in the bubble center. |
| 4 | Ensure the film remains moist throughout this process. |
Conclusion
Bubble-free tints enhance your vehicle’s aesthetic appeal and improve your driving visibility. Whether you’re a DIY enthusiast or you prefer professional services, maintaining bubble-free tints is achievable with the right approach. Should you decide to go the DIY route, remember to always check warranties, be gentle with your tools, and ensure your window tint remains warm and moist throughout the process. Safe driving!
Frequently Asked Questions
1. How long after tinting can bubbles appear?
It’s common for bubbles to appear immediately after a new tint job due to trapped moisture. They should disappear after a few days to weeks as the tint cures. If they persist beyond this, there might be an installation issue.
2. Will small bubbles in window tint go away on their own?
Small bubbles caused by trapped moisture usually disappear as the tint cures and the moisture evaporates. However, bubbles caused by dirt or poor adhesive application won’t go away and may require repair or re-tinting.
3. Can I prevent bubbles when tinting my windows?
Yes, ensuring the window is thoroughly cleaned and free from dirt or debris is vital. It’s also essential to use quality tinting film and adhesive. If unsure, seeking a professional’s help can ensure a bubble-free finish.
Amos Beaumont, who grew up in Asheville, North Carolina, has a real love for cars. Even though he didn’t go to college, his fascination with vehicles made him an authority on tinted windows. He runs a popular blog where this hip, self-educated hobbyist discusses the skill and advantages of tinting car windows.

