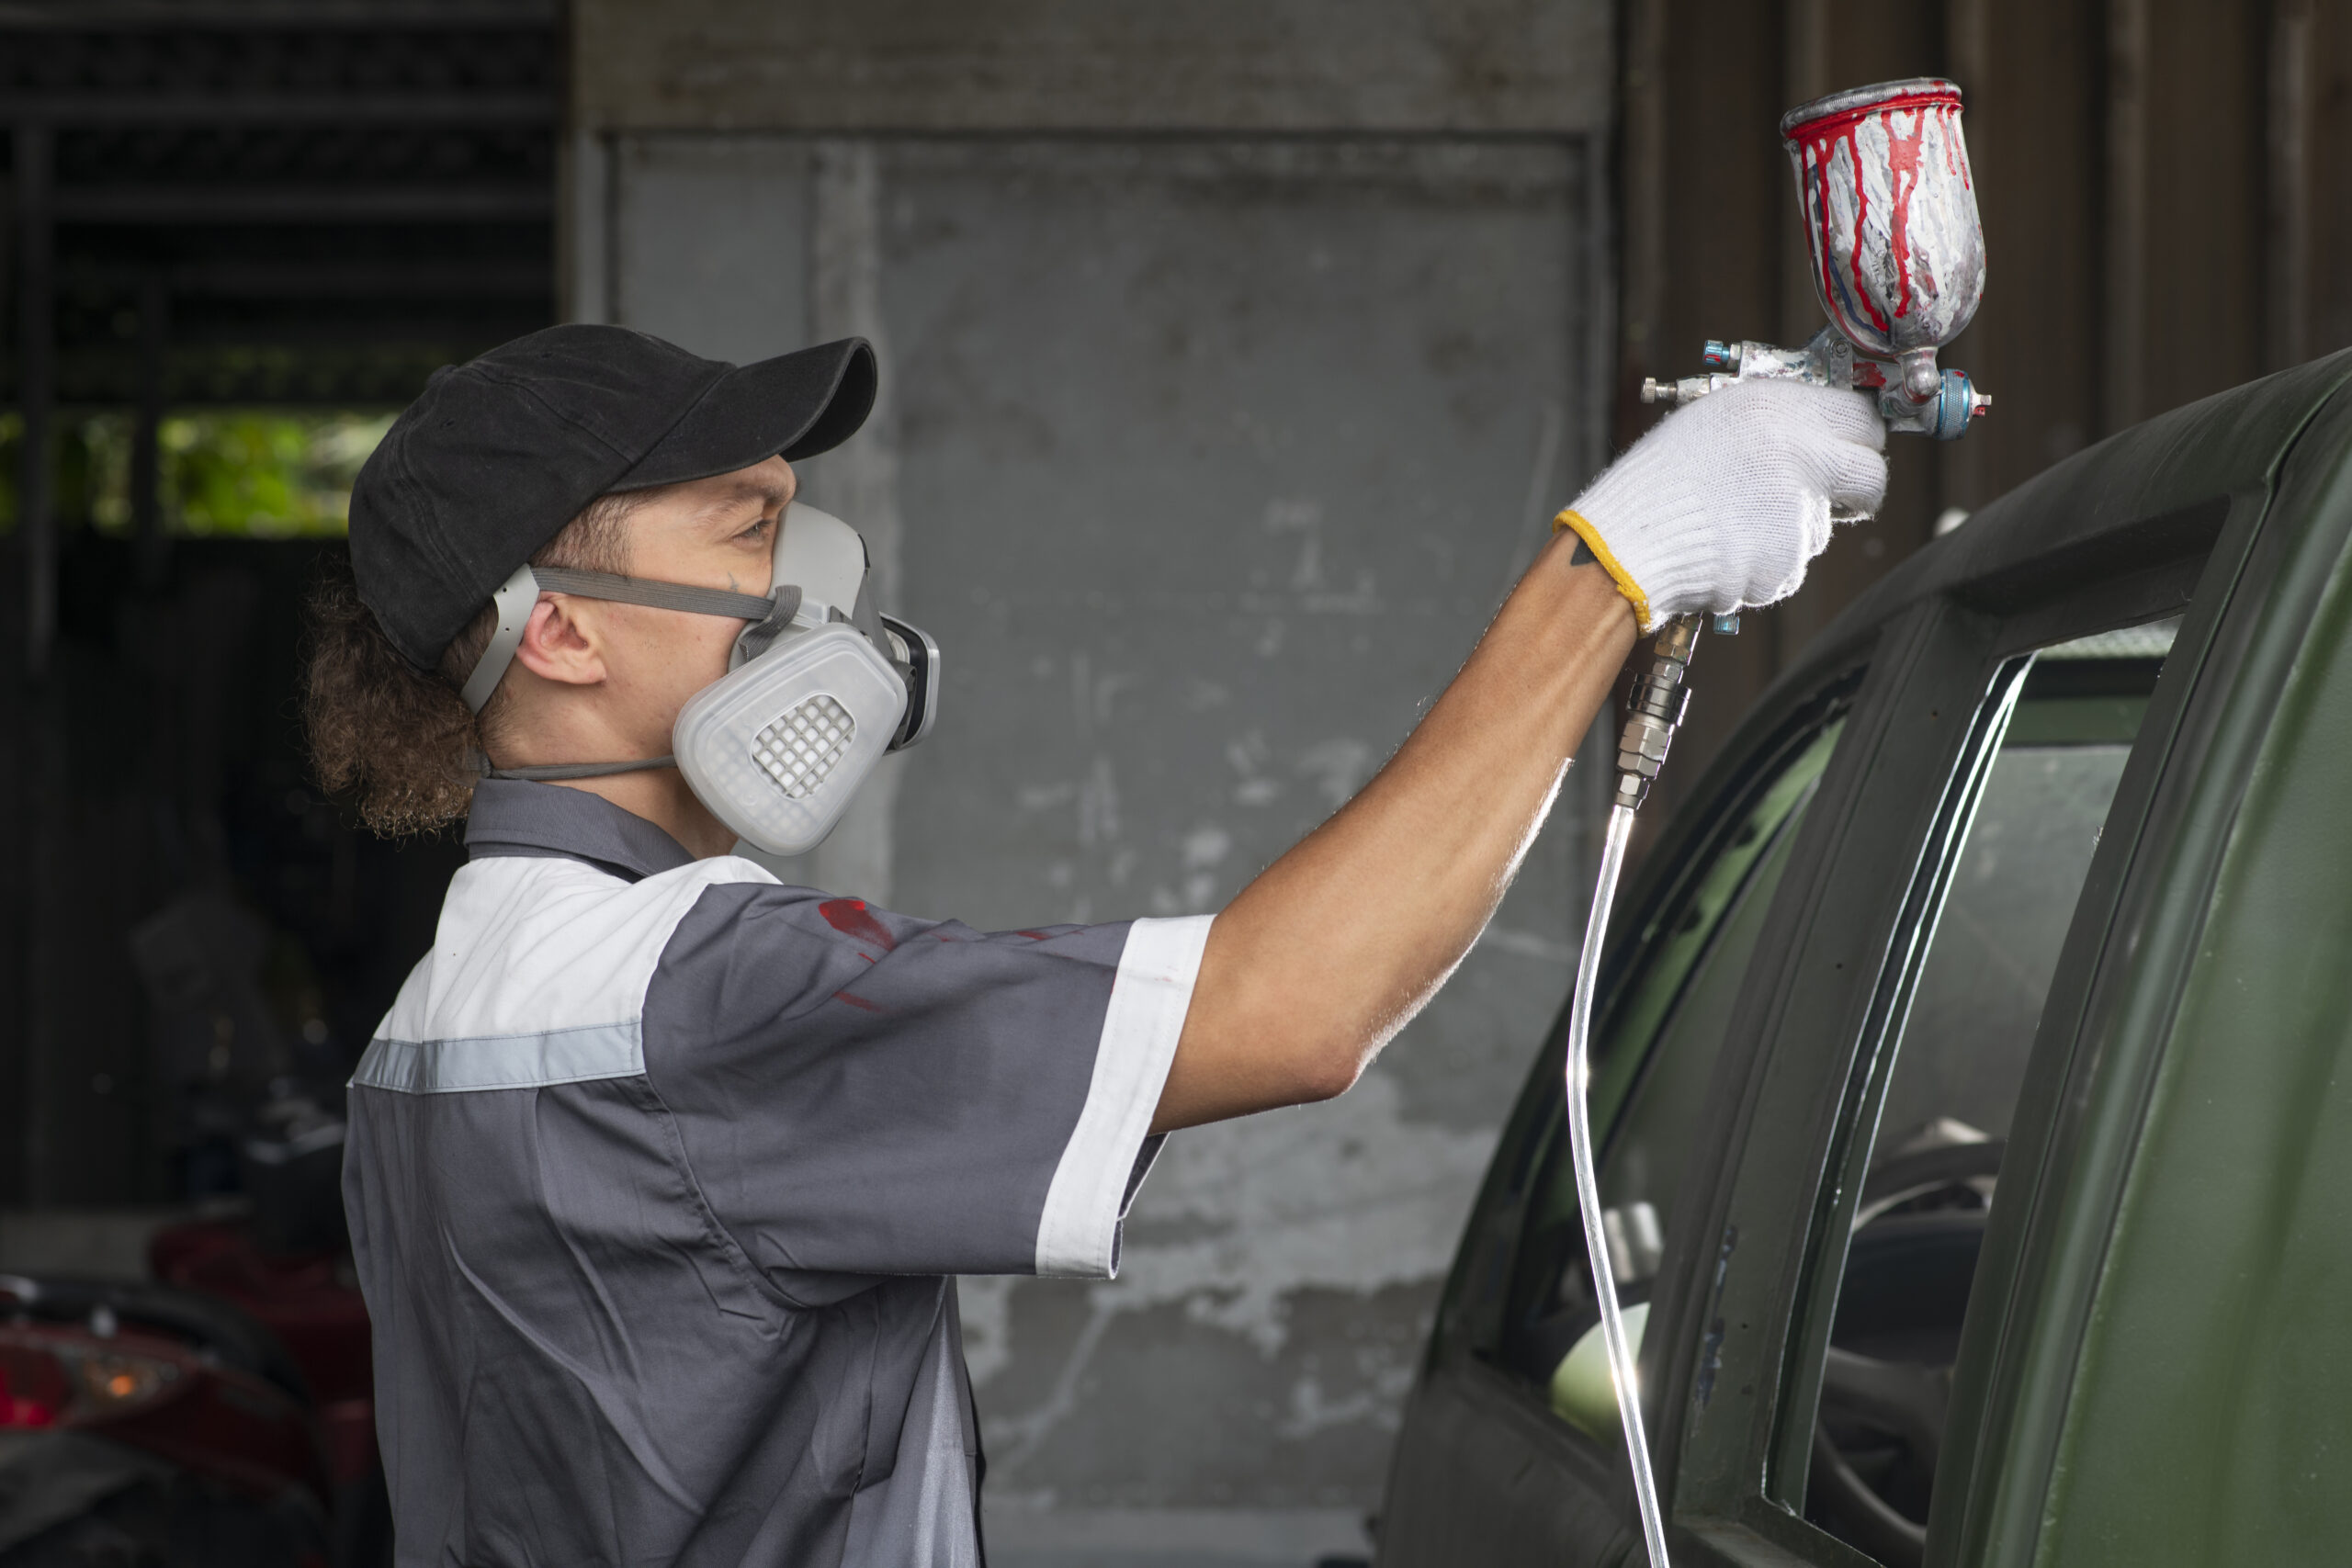
If you’re looking to enhance your car’s appearance while adding some privacy and protection from the sun’s harmful rays, tinting your windows is an excellent choice. While professional installation can be expensive, there’s a DIY method that’s gaining popularity: spray tinting. In this guide, we’ll walk you through the process step by step.
Step-by-Step Guide to Tinting Car Windows with Spray
Step 1: Gather Materials
Before you begin, it’s crucial to have all the necessary materials on hand. This includes window tint spray, a squeegee for smoothing out the tint, a spray bottle filled with a mixture of soap and water to help with the application, masking tape to protect non-tinted areas, and a razor blade or box cutter for trimming excess tint.
Step 2: Prep the Windows
A clean window ensures better adhesion of the tint. Use a lint-free cloth to meticulously clean both the interior and exterior surfaces of the windows. Once cleaned, lightly spray the windows with the soapy water mixture. This acts as a lubricant, allowing you to position the tint easily.
Step 3: Protect Your Car’s Interior
Spray tint can be messy. To prevent any overspray or damage to your car’s interior, cover the inside areas, especially the seats and dashboard, with plastic sheets. Secure them in place using masking tape. Also, choose a shaded, well-ventilated area for the tinting process to avoid direct sunlight and ensure better drying.
Step 4: Apply the Tint
Before spraying, give the tint bottle a good shake to mix the contents thoroughly. Start spraying from the top of the window and work your way down, ensuring even coverage. Depending on the darkness you desire, you might need to apply multiple coats. Remember to wait a few minutes between coats.
Step 5: Remove Air Bubbles
After applying the tint, you might notice some air bubbles trapped underneath. Use the squeegee to gently push these bubbles towards the edge of the window. This step is crucial for a smooth and professional-looking finish.
Step 6: Let the Tint Dry
Patience is key here. Allow the tint to dry for at least an hour. Avoid touching or disturbing the windows during this time to prevent smudges or fingerprints.
Step 7: Trim Excess Tint
Once dried, there might be some overhanging tint. Using a razor blade or box cutter, carefully trim this away. Ensure you leave a small gap from the window’s edge to prevent the tint from peeling off in the future.
Step 8: Final Cleanup
With the tint applied and trimmed, give the window another wipe down with a lint-free cloth. This will remove any residual spray or debris, leaving your window looking pristine.
Step 9: Repeat for All Windows
For a consistent and polished look, ensure each window receives the same tinting treatment. Repeat the steps for all the windows you wish to tint.
Step 10: Quality Check
Stand back and inspect your work. Check for any missed bubbles, uneven tint, or imperfections. If you spot any, use the squeegee to smooth them out or trim where necessary.
Frequently Asked Questions
- How long should I wait before rolling down my windows after tinting? It’s recommended to wait at least 24-48 hours before rolling down your windows. This allows the tint to fully adhere and dry.
- Can I wash my car immediately after tinting the windows? It’s best to wait at least three to four days before washing your car. This ensures the tint has set properly and won’t be disturbed by the water pressure.
- How long does spray window tint last? With proper care and depending on the quality of the tint, spray window tint can last several years. However, over time, it might start to fade or peel, at which point you might consider reapplying or replacing it.
Conclusion
Tinting your car windows with spray is a cost-effective and straightforward DIY project. However, always be aware of legal restrictions and ensure you’re working in a safe environment. With the right tools and this guide, you’ll have tinted windows that not only look great but also offer the benefits of privacy, UV protection, and reduced heat.
Amos Beaumont, who grew up in Asheville, North Carolina, has a real love for cars. Even though he didn’t go to college, his fascination with vehicles made him an authority on tinted windows. He runs a popular blog where this hip, self-educated hobbyist discusses the skill and advantages of tinting car windows.

