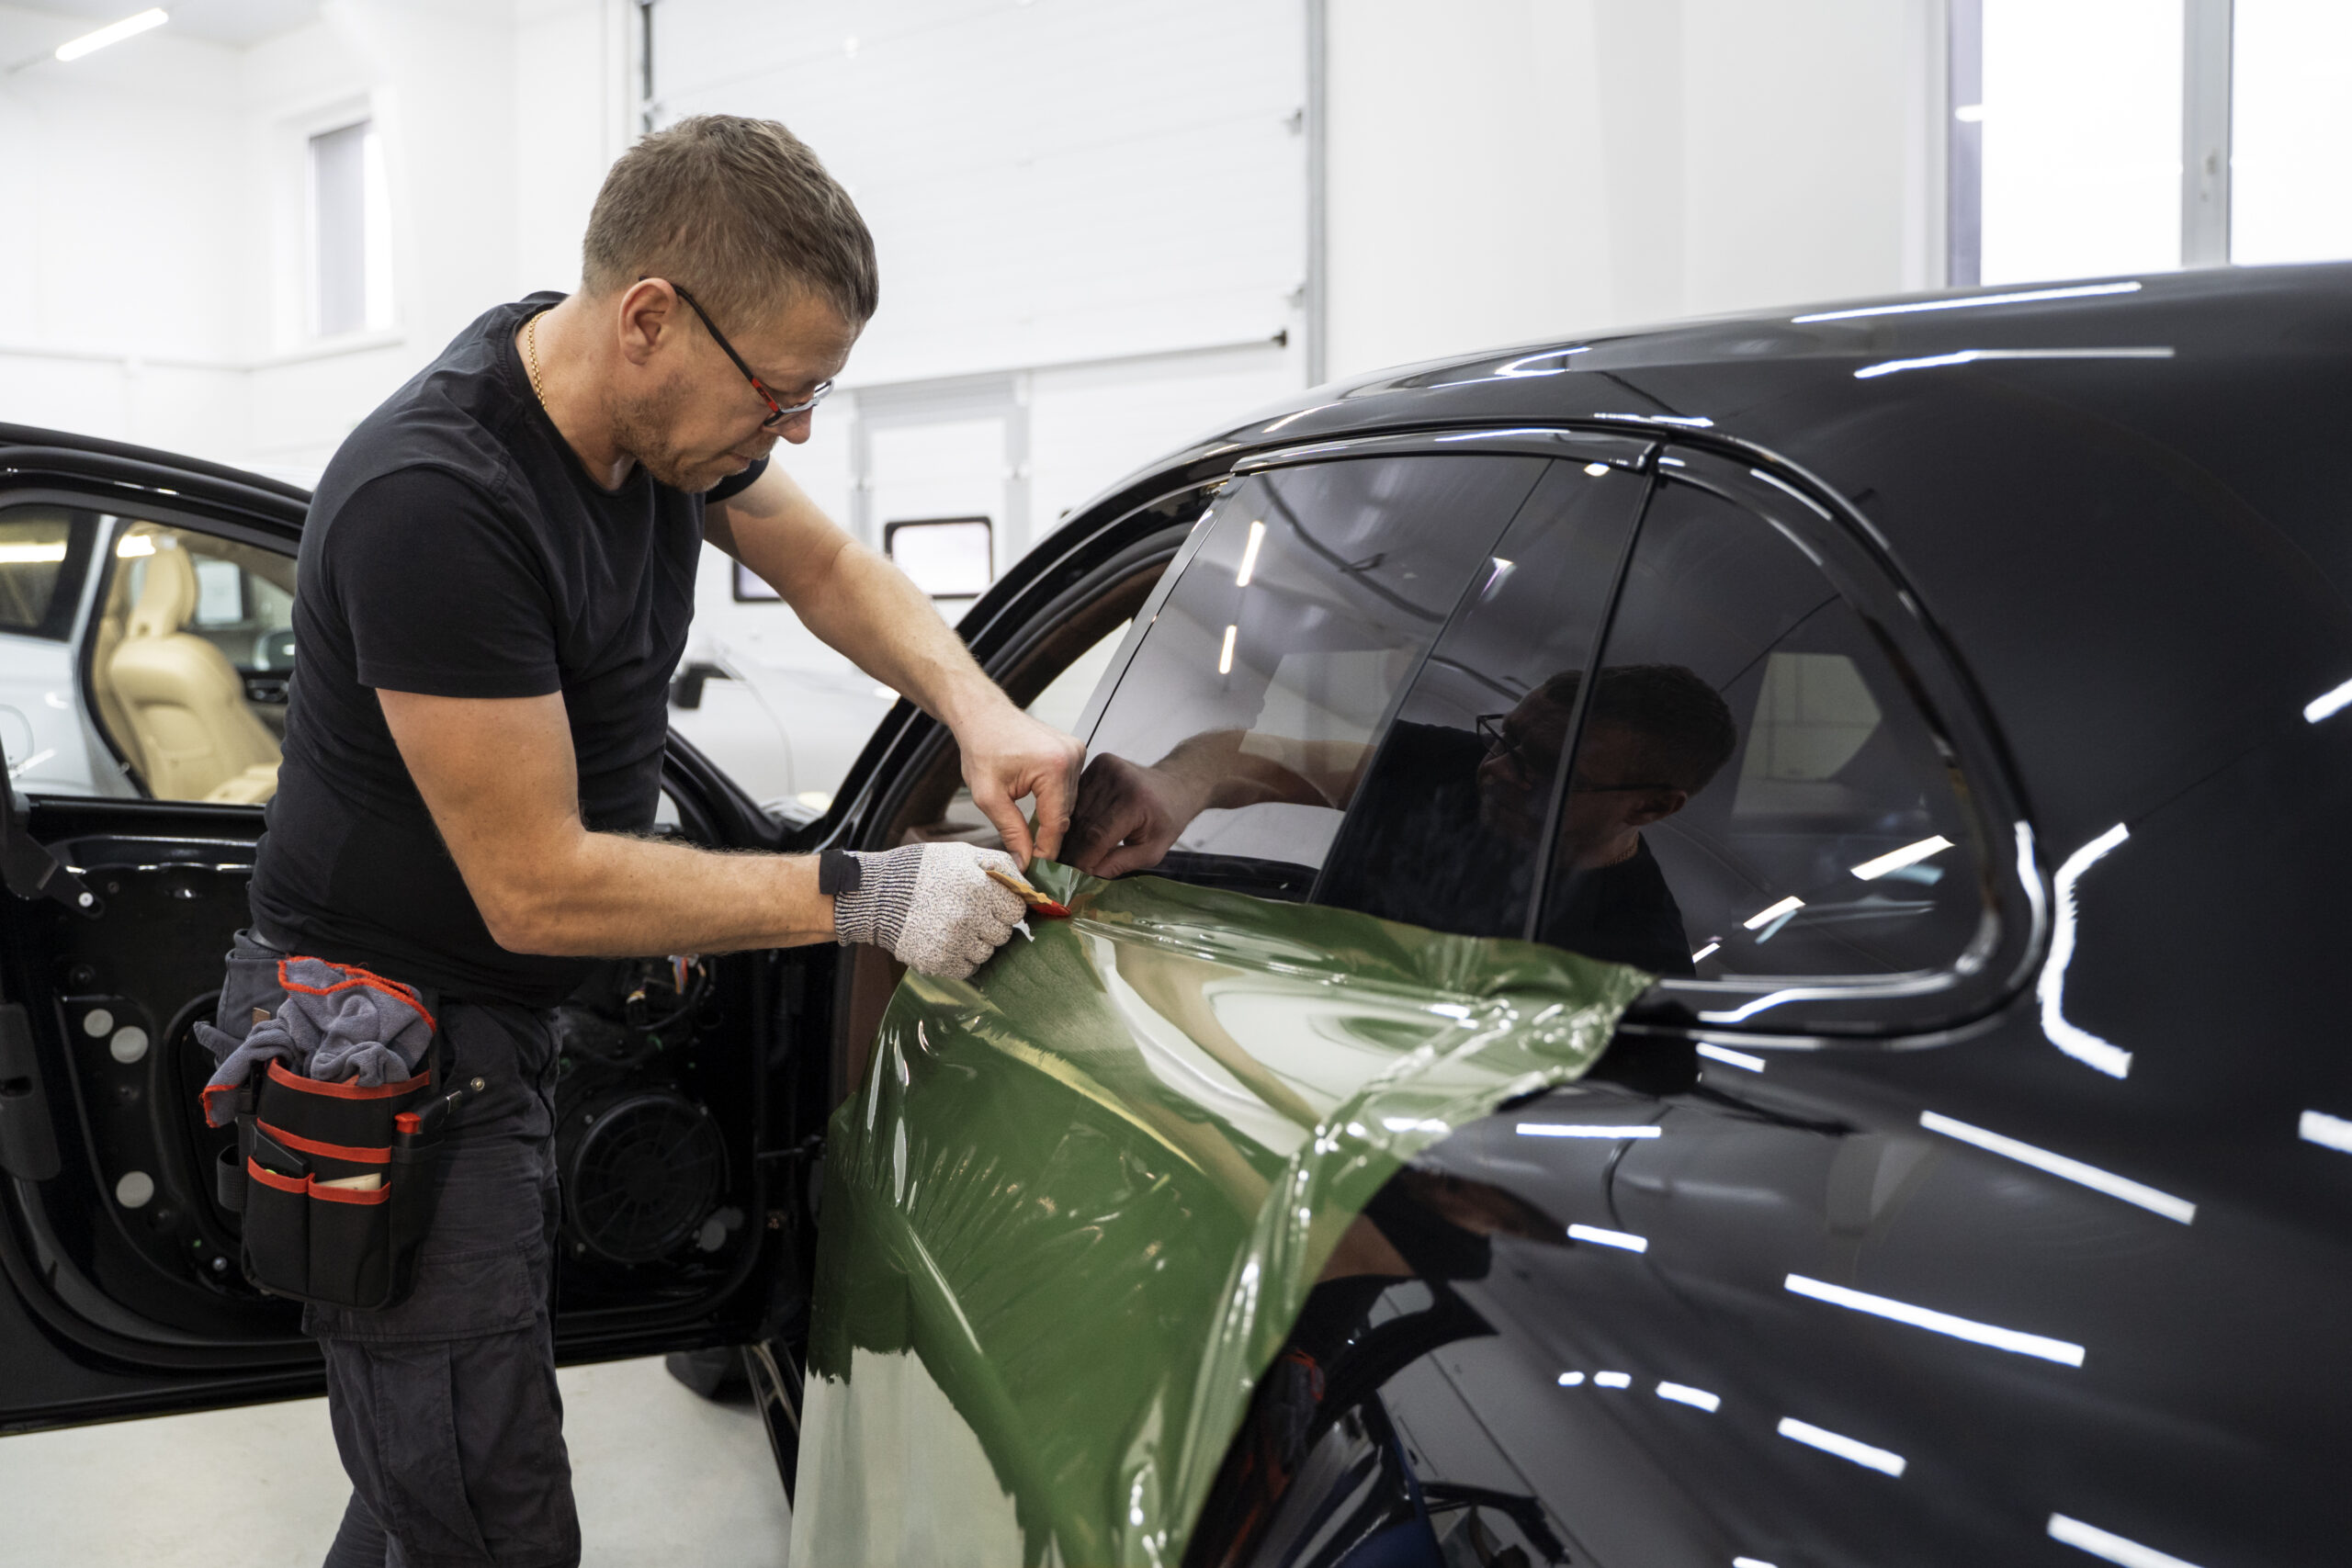
Window tinting can be a great addition to your car or home, offering benefits like privacy, UV protection, and heat reduction. However, over time, window tint can deteriorate, peel, or become discolored, necessitating its removal. Removing the tint itself is usually straightforward, but dealing with the stubborn adhesive left behind can be challenging. In this comprehensive guide, we will explore various methods and techniques to remove window tint adhesive from glass surfaces effectively.
Why Remove Window Tint Adhesive?
Before diving into the removal process, it’s essential to understand why removing window tint adhesive might be necessary. There are several reasons:
- Deterioration: Over time, window tint adhesive can deteriorate, leading to unsightly bubbling, peeling, or discoloration.
- Legal Compliance: Window tint laws vary by location, and you may need to remove or replace tint to meet legal requirements.
- Upgrading or Replacing Tint: If you want to change the type or darkness of your window tint, you’ll need to remove the existing adhesive first.
- Restoring Clarity: Tinted windows can reduce visibility. Removing the tint and adhesive can improve visibility and safety.
Now that we understand the reasons behind removing window tint adhesive let’s explore various methods and techniques to accomplish this task.
Method 1: Rubbing Alcohol
Materials Needed:
- Rubbing alcohol (Isopropyl alcohol)
- Clean cloth or sponge
- Razor blade (optional)
- Damp cloth
- Safety gloves and eyewear
Step-by-Step Instructions:
1. Safety Precautions
As with acetone, prioritize safety when using rubbing alcohol. Work in a well-ventilated area and wear safety gloves and eyewear.
2. Patch Test
Before applying rubbing alcohol to the entire tinted surface, conduct a patch test to ensure it won’t harm the tint or glass.
3. Apply Rubbing Alcohol
Apply rubbing alcohol to the tinted area using a clean cloth or sponge. Similar to acetone, be patient, as it may take time to break down the adhesive.
4. Peeling Away the Tint
Once the adhesive begins to dissolve, carefully peel away the tint. Use a razor blade if necessary. Proceed gently to prevent glass damage.
5. Clean the Surface
After removing the tint, wipe the area with a damp cloth to eliminate any remaining adhesive residue.
Method 2: Using Ammonia
Materials Needed:
- Ammonia
- Clean cloth or sponge
- Plastic wrap
- Razor blade (optional)
- Damp cloth
- Safety gloves and eyewear
Step-by-Step Instructions:
1. Safety Precautions
Always wear safety gloves and eyewear. Ensure the area is well-ventilated due to ammonia’s strong fumes.
2. Apply Ammonia
Soak a cloth in ammonia, place it on the adhesive, and cover with plastic wrap to prevent evaporation. Let it sit for hours.
3. Peeling Away the Tint
Gently peel the tint. If needed, use a razor blade
4. Clean the Surface
Wipe off residue with a damp cloth
Method 3: Steam and Heat
Materials Needed:
- Steam cleaner or heat gun
- Plastic scraper or razor blade
- Damp cloth
- Safety gloves and eyewear
Step-by-Step Instructions:
1. Safety Precautions
Protect yourself with gloves and eyewear.
2. Apply Steam or Heat
Direct the steam or heat onto the tinted area until the adhesive softens.
3. Peeling Away the Tint
Carefully peel off the tint. Use a scraper or blade if necessary.
4. Clean the Surface
Wipe away any remnants with a damp cloth.
Frequently Asked Questions
1. Is it possible to reuse window tint after removal?
Reusing window tint is generally not recommended, as it may be damaged during the removal process.
2. Can I use a hairdryer instead of a heat gun for the steam and heat method?
While a hairdryer can generate heat, it may not be as effective as a heat gun, especially for larger areas.
3. Can I use vinegar instead of ammonia for method 3?
Vinegar is less effective than ammonia for removing adhesive, so it may require more effort and time.
Conclusion
Successfully removing window tint adhesive can be achieved with the right approach and patience. Whether using rubbing alcohol, ammonia, or heat, always ensure safety first. If challenges arise, considering professional services is a good alternative. The end goal is clear, pristine windows that enhance safety and appearance.
Amos Beaumont, who grew up in Asheville, North Carolina, has a real love for cars. Even though he didn’t go to college, his fascination with vehicles made him an authority on tinted windows. He runs a popular blog where this hip, self-educated hobbyist discusses the skill and advantages of tinting car windows.

